Event messaging is a powerful concept for sending notifications between decoupled services in your backend. In a previous blog post, my colleague already explained a lot about this topic using Amazon’s SNS and SQS. In this blog post I will focus on how you can setup event messaging in AWS using SNS and SQS, but with the handy use of Terraform.

Terraform
Without the use of solutions like Terraform, creating infrastructure for your cloud provider needs to be done via the website or command-line interface. This can become tedious and error prone, especially if you need to create the same services more than once. Terraform makes it possible to create Infrastructure as Code, so we can write infrastructure in an automated fashion.
Use Infrastructure as Code to provision and manage any cloud, infrastructure, or service
Next to Terraform, there’s also CloudFormation, which is AWS own solution of Infrastructure as Code. One big difference between these two solutions is that Terraform is open source and cloud agnostic. This means that Terraform can operate with hundreds of providers while CloudFormation is tightly integrated with AWS.
In this blog I'll be using Terraform to create infrastructure for AWS for the services SNS and SQS. I’m not using CloudFormation because I want to maintain the possibility for running other cloud providers from my scripts.
Let's do some event messaging!
Sending order confirmation email
Let’s say a customer named Lucy has placed an order on an e-commerce website and she wants to receive a confirmation email of her order.
In order to accomplish this, we need to send an event message from our OrderMicroservice to the EmailMicroservice.
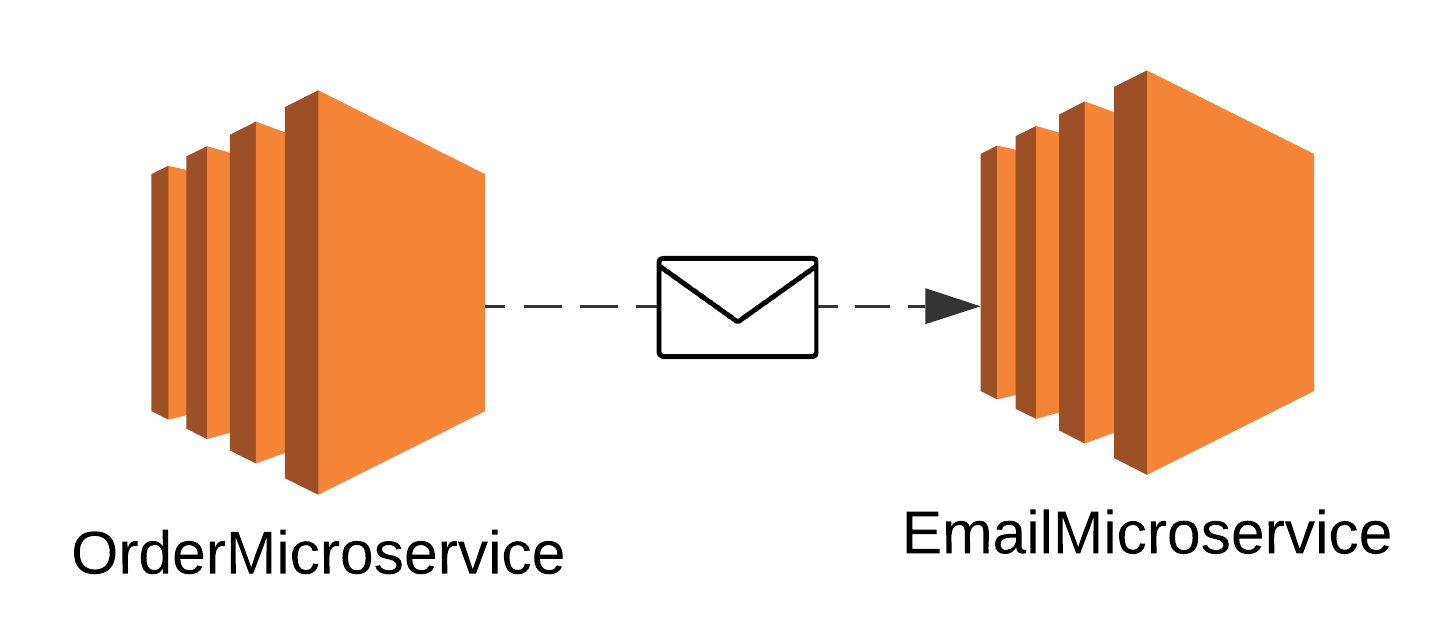
The reason for using a separate EmailMicroservice is because we want to centralise email processing and we like to have separations of concerns. The OrderMicroservice is handling orders and the EmailMicroservice exists to process the email and adding an attachment.
Creating a Simple Notification Service (SNS) topic
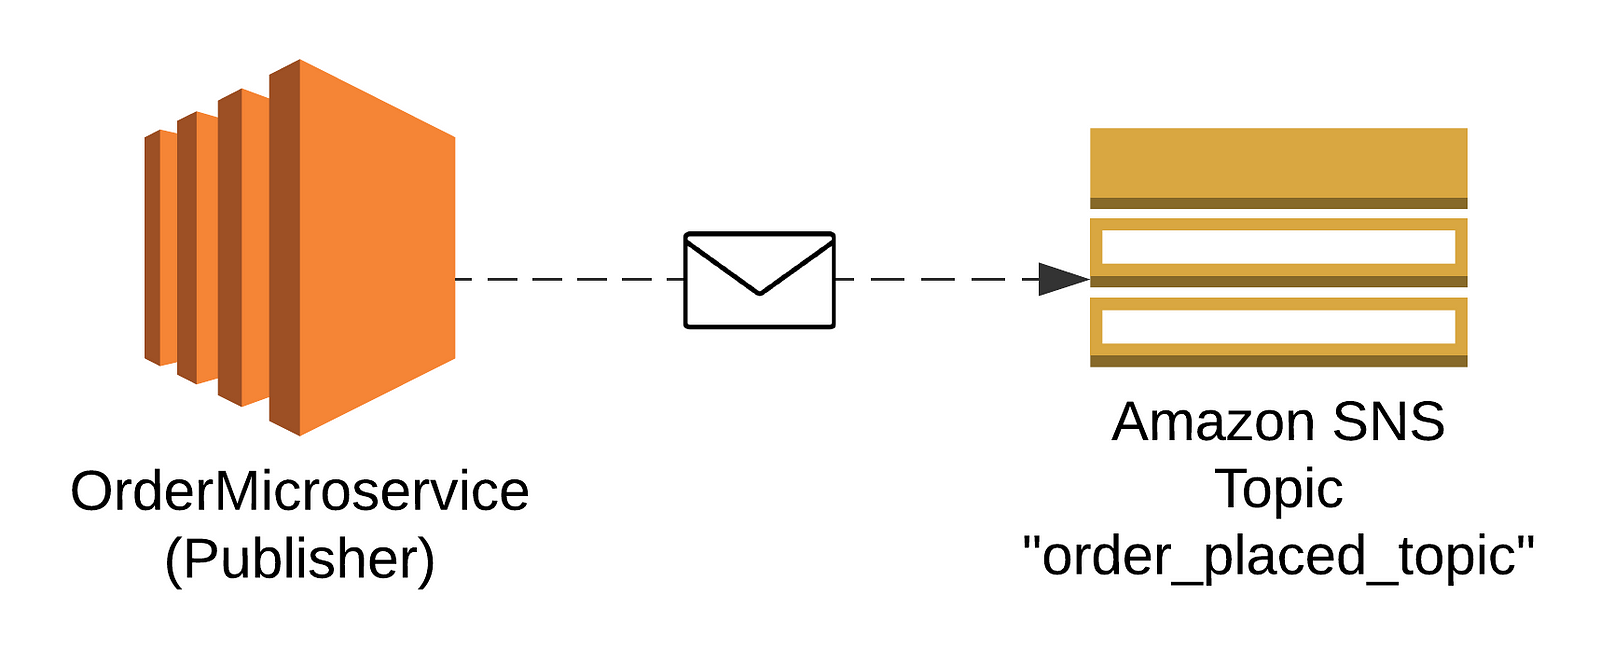
In order to create a SNS notification we first need to create a message topic. This is used to make your SNS notification unique and can be used for other services to subscribe upon. In the example below we’re publishing to the SNS topic order_placed_topic from the OrderMicroservice. This means that the SNS event message will be published when an order has been placed.
In the example below you’ll see the Terraform script for creating an aws_sns_topic, including extra settings for setting the defaultHealthyRetryPolicy. This is needed in case the message delivery fails and sets the retry policy to 5 retries. The exponential backoff function makes sure that the wait time increases exponentially for each retry.
resource "aws_sns_topic" "order_placed_topic" {
  name = "order_placed_topic"
  delivery_policy = <<JSON
{
  "http": {
    "defaultHealthyRetryPolicy": {
      "minDelayTarget"    : 20,
      "maxDelayTarget"    : 600,
      "numRetries"        : 5,
      "backoffFunction"   : "exponential"
    },
    "disableSubscriptionOverrides": false
  }
}
JSON
}
Combining SNS with a Queue (SQS)
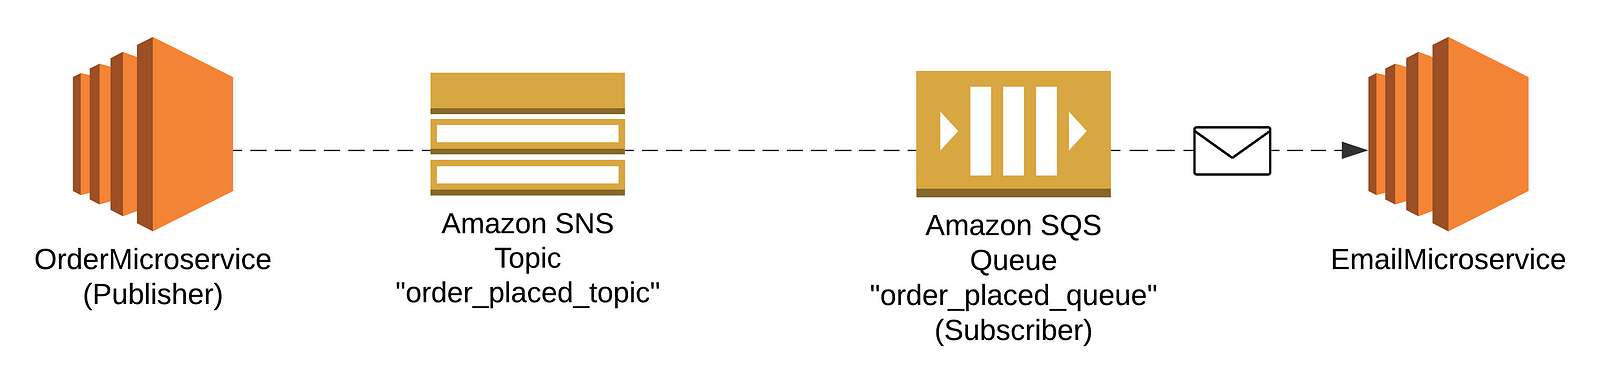
Aside from publishing event messages with SNS, we also need a queue to the event stream. This queue makes sure that event messages are being put on a queue and can be pulled from it by the receiving EmailMicroservice. As a result, we will put the code for creating the SNS service on the OrderMicroservice, while the scripts for creating the SQS service will be put on the EmailMicroservice.
Additionally, we can add a dead letter queue to the main SQS queue. This comes in handy when we want to debug event messages in case a message can’t be processed.
After completing this last phase, we will be creating the following setup.
To subscribe SQS to our SNS topic we need to perform 3 steps, which are the following.
- Subscribe SQS to the SNS event message
- Create a SQS queue and SQS dead letter queue
- Create a SQS queue policy
Now, let’s go and do this!
Subscribe SQS to the SNS event message
To subscribe SQS to the SNS event message using Terraform we need the following script, which is using the aws_sns_topic_subscription Terraform resource.
resource "aws_sns_topic_subscription" "order_placed_subscription" {
  topic_arn            = "order_placed_topic"
  protocol             = "sqs"
  endpoint             = "${aws_sqs_queue.order_placed_queue.arn}"
}
You can see that the endpoint needs to be linked to the order_placed_queue we previously created. ARN stands for Amazon Resource Name.
Create a SQS queue
Next, we need to create the actual SQS queue with the following Terraform script…
resource "aws_sqs_queue" "order_placed_queue" {
  name                       = "ordermicroservice_order_placed_queue"
  redrive_policy             = "{"deadLetterTargetArn":"${aws_sqs_queue.order_placed_dlq.arn}","maxReceiveCount":5}"
  visibility_timeout_seconds = 300
}
…including the following dead letter queue.
resource "aws_sqs_queue" "order_placed_dlq" {
  name = "order_placed_dlq"
}
Create a SQS queue policy
In this last step we’re going to add permissions to the SQS queue to be able to send messages on the topic. This is important because without setting the right permissions, it won’t work!
First, add the aws_sqs_queue_policy that links to an aws_iam_policy_document where the policy is declared.
resource "aws_sqs_queue_policy" "order_placed_queue_policy" {
  queue_url = "${aws_sqs_queue.order_placed_queue.id}"
  policy    = "${data.order_placed_queue_iam_policy.json}"
}
In the following policy the permission is added to let SQS allow sending messages on the SNS topic.
data "aws_iam_policy_document" "order_placed_queue_iam_policy" {
  policy_id = "SQSSendAccess"
  statement {
    sid       = "SQSSendAccessStatement"
    effect    = "Allow"
    actions   = ["SQS:SendMessage"]
    resources = ["${aws_sqs_queue.order_placed_queue.arn}"]
    principals {
      identifiers = ["*"]
      type        = "*"
    }
    condition {
      test     = "ArnEquals"
      values   = ["${data.aws_sns_topic.order_placed_topic.arn}"]
      variable = "aws:SourceArn"
    }
  }
}
Testing
After performing these steps, you can perform the following steps to test if the setup works.
- Use the Terraform CLI to validate your scripts. The command terraform validate will do this.
- When deploying both microservices, check your logs to see if the infrastructure will be created.
- Login to your Amazon SQS console to see if the SQS service is subscribed to the SNS topic. When this works, you can send test messages from SNS at https://console.aws.amazon.com/sns/. Select the matching topic, followed by the "Publish message" button.
Hopefully everything works as expected and customers like Lucy will receive their beloved order email ✨
Conclusion
Terraform is a great tool that can streamline your process by creating infrastructure as code. Using this blog, I hope it’s easier to create your infrastructure for SNS and SQS.
Thanks for reading!
Written by

Bart den Hollander


Contact