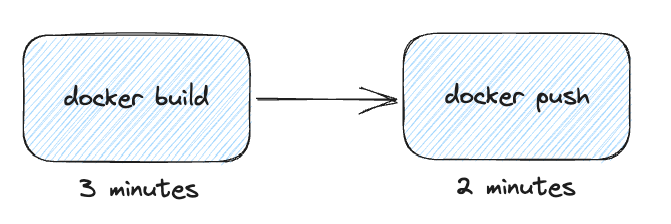
When building Docker images, we are often repeating steps. When building locally, Docker uses a cache so it doesn’t have to rebuild layers it has already built before. This is great!
In CI/CD pipelines, you often start on a clean virtual machine. This means there is no Docker cache yet! Your Docker image will be built from scratch every time. This takes up valuable time and creates a slower feedback loop.
We can optimize this by using an existing image as cache!
For this blogpost, we’ll use Azure Container Registry as our registry. If you use a different container registry, the principle still applies.

Why pulling before you build is a bad idea
If you pull your image before you build, you always have to pull your entire image. Imagine we change a layer of our image. Docker will have to rebuild the image from that layer on; A change in a layer changes all the subsequent layers! This means we will always pull more layers than we actually need!

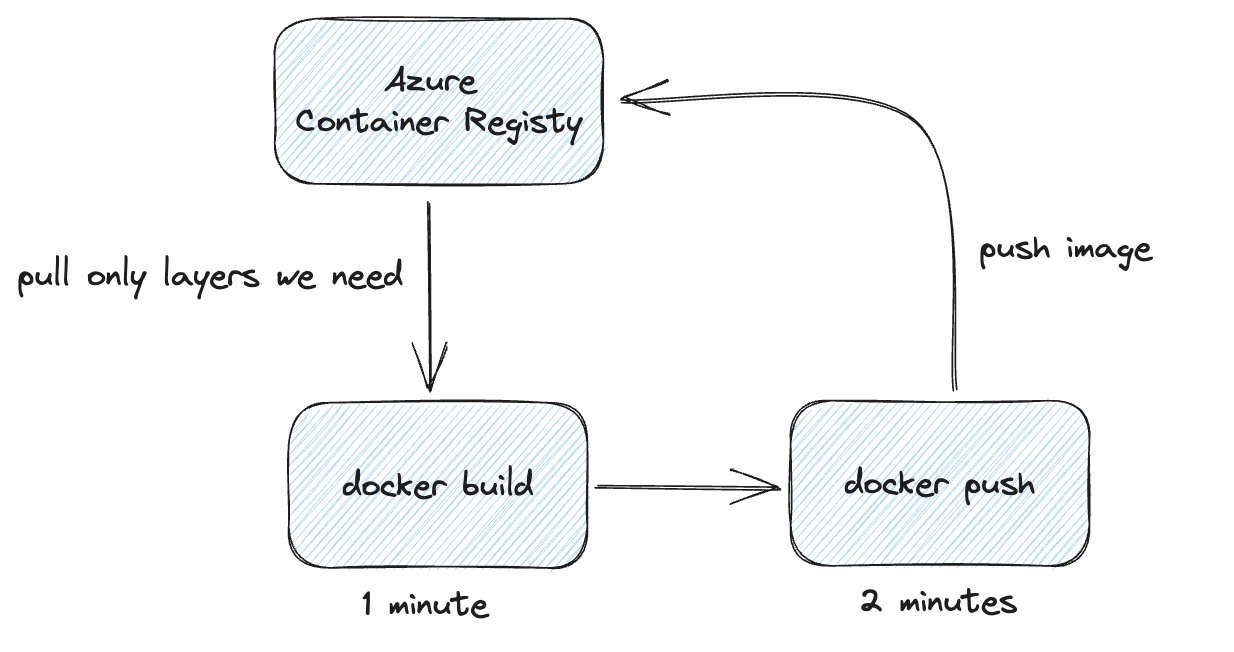
We can do better than pulling our entire image. Let’s tell Docker to look for layers from a remote registry.
Building your image using a remote cache
When running docker build, we can specify --cache-from <image>. This will tell Docker to use the layers from <image> as a cache. This can be any image, but usually it’s a previous version of the image we are building. The process will look like this:

docker build . -t myregistry.azurecr.io/myimage:latest --cache-from myregistry.azurecr.io/myimage:latest
The first time we build it, Docker will show an error that it can’t find this image:
ERROR importing cache manifest from myregistry.azurecr.io/myimage:latest
This error will be ignored and the build will still continue. Once we push to our registry and build again, the error is resolved.
Let’s push the image, so it will be available as a cache:
Pushing your image
To push your image to your registry, run:
docker push myregistry.azurecr.io/myimage:latest
Building your image again, now using the cache
Let’s build the image again, so we can see our cache being used.
Note: If you are testing this locally, make sure to remove your image and its caches. Otherwise Docker will use the local cache instead of the cache from the registry! To do this: 1. Remove your image with docker rmi myregistry.azurecr.io/myimage:latest 2. Remove the build cache: docker builder prune
We use the same build command:
docker build . -t myregistry.azurecr.io/myimage:latest --cache-from myregistry.azurecr.io/myimage:latest
This time, Docker will use the cache from the registry. The build will be much faster and you can clearly see in the output the cache is used:
CACHED
CACHED
CACHED
...
But wait! I don’t see CACHED in my output. It looks like Docker is building everything again! What is going on?!

I’m using a cache, why is Docker rebuilding everything?!
By default, our Docker image in our registry does not include any cache information, so it can’t be used as a cache!
We can fix this by telling Docker to put the cache information inside our image. Add --cache-to type=inline to your build command:
docker build . -t myregistry.azurecr.io/myimage:latest --cache-from myregistry.azurecr.io/myimage:latest --cache-to type=inline
Now, our image includes cache information!
Let’s push our image to the registry again:
docker push myregistry.azurecr.io/myimage:latest
Build again to use the cache
We build our image again using the same command as before. We can now see that Docker is properly using the cache and is pulling layers that already exist!
=> CACHED [1/7]
=> CACHED [2/7]
=> CACHED [3/7]
...
Conclusion
Using a remote image cache can greatly speed up your Docker builds. Don’t forget to use --cache-to type=inline in your build command! Or you might be rebuilding your images from scratch every time.


