The documentation for SonarQube explains how to configure SSL when you're running on Linux and how to use the native Tomcat functionality for a simple test environment, yet they recommend not to use this functionality in any production like setting.
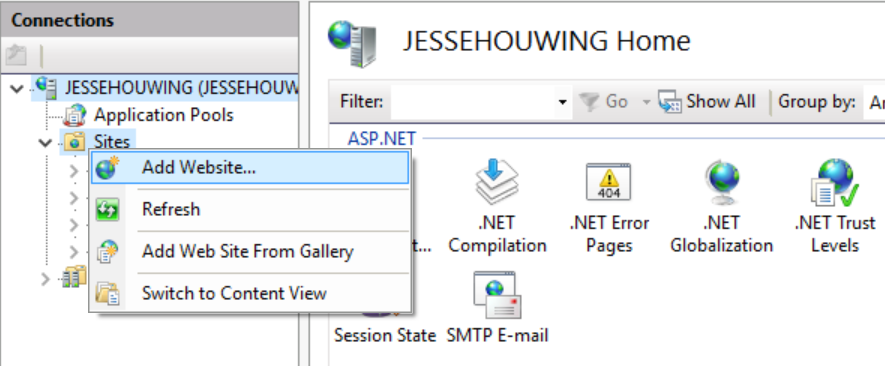
Instead SonarQube recommends the use of a Reverse Proxy to secure you sonar installation. With the help of IIS and the Url Rewrite module, that's a piece of cake to setup.
What you'll need:
Instead SonarQube recommends the use of a Reverse Proxy to secure you sonar installation. With the help of IIS and the Url Rewrite module, that's a piece of cake to setup.
What you'll need:
- IIS enabled on a machine (doesn't have to be the SonarQube machine, but I'm going to assume you're doing this on the same system)
- The Url Rewite extension for IIS
- The Application Based Routing extension for IIS
- An SSL certificate (can be self signed or a real one)
After installing and enabling these features, I had to do an IIS Reset and re-open the IIS Manager for all features to start working.
Next we'll go through the steps to configure the reverse proxy.
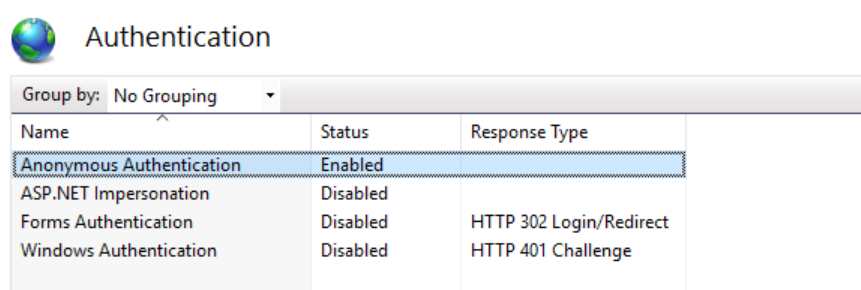
Unless you're required to do Kerberos authentication, you don't need to configure any form of authentication on your Reverse Proxy. It should forward the challenge from SonarQube if you've configured Active Directory integration there.
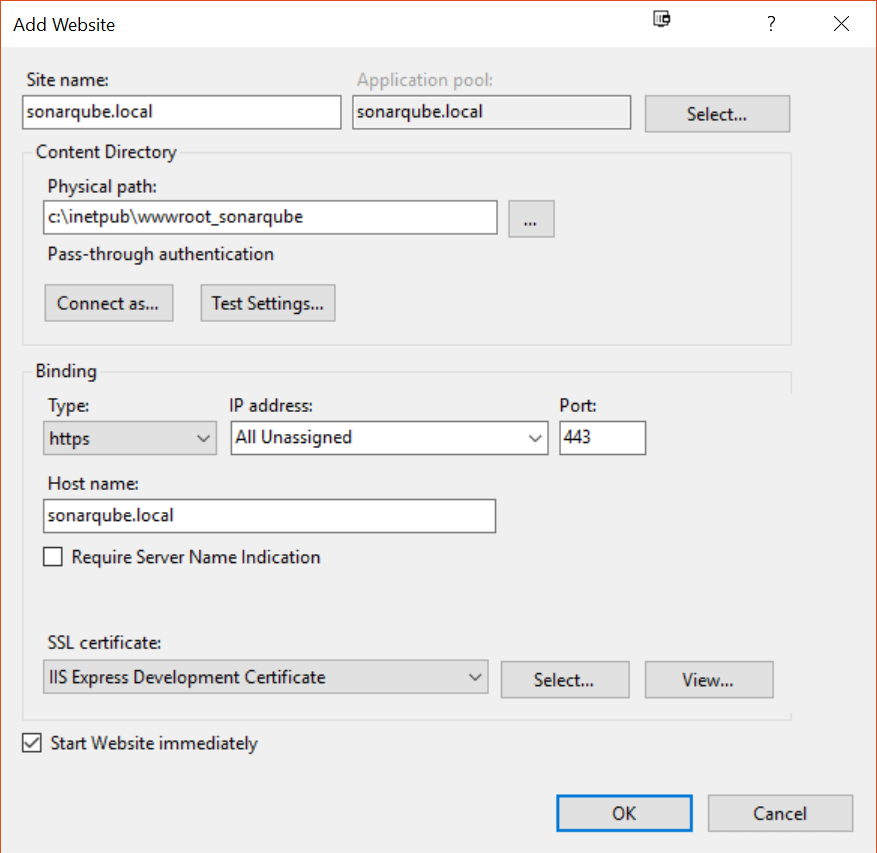
Configure the binding to use SSL and setup the correct hostnames and the certificate. I'm cheating a little by using the IIS Express Development Certificate installed on my machine:
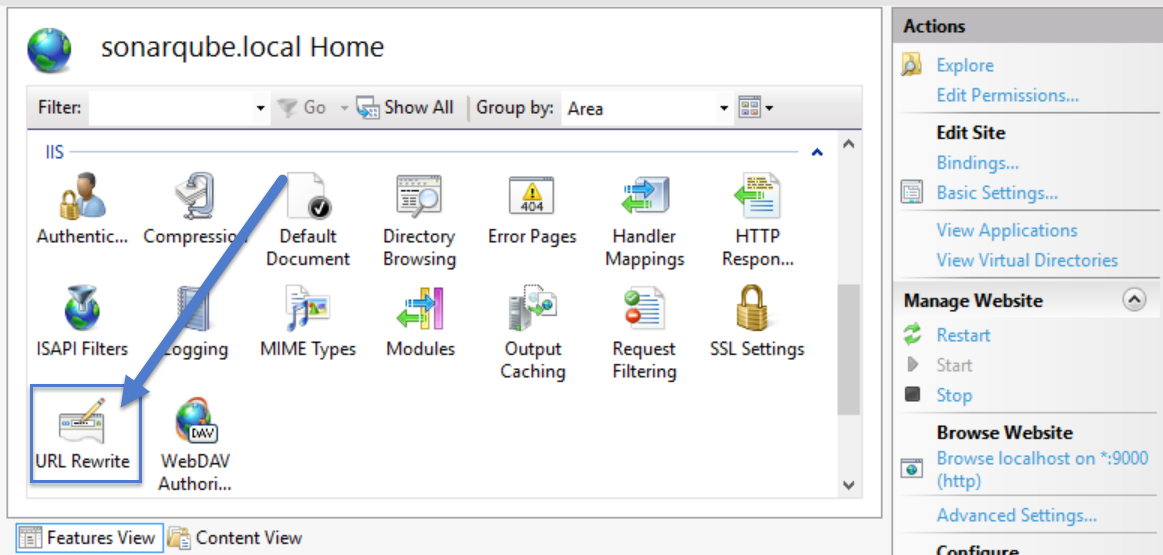
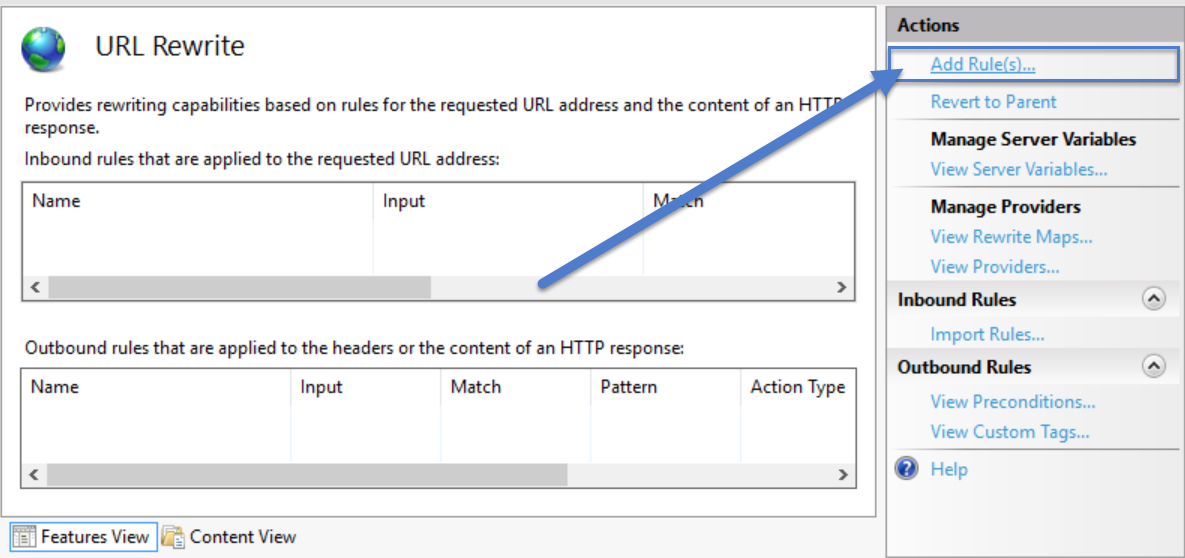
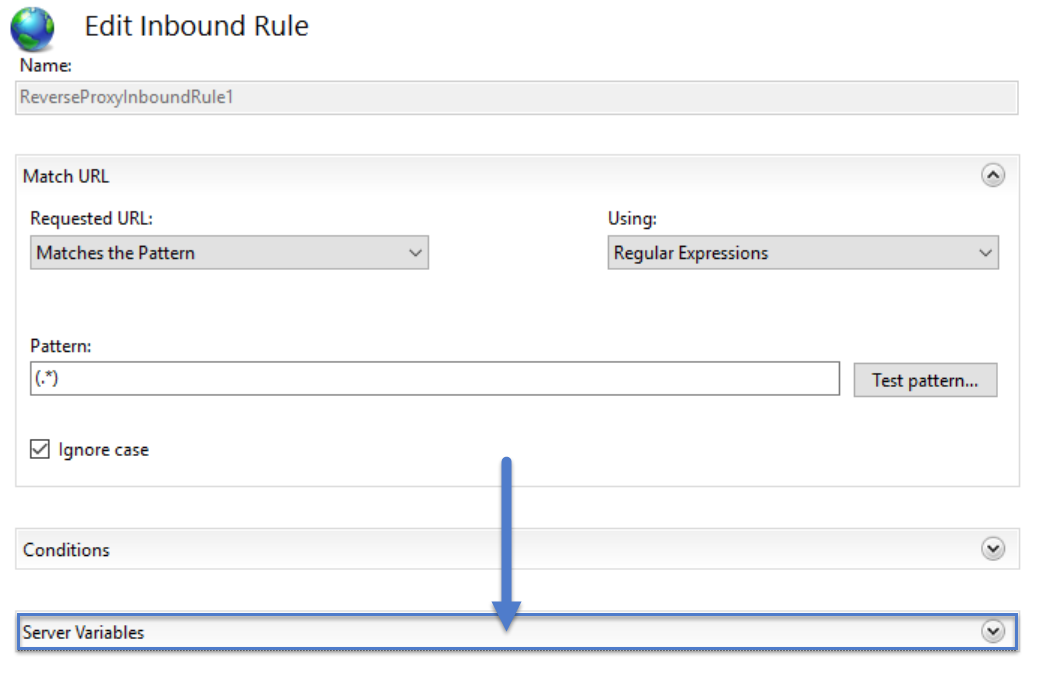
Next we'll open the URL Rewrite settings to configure reverse proxy:
Click Add Rule to create a new rule
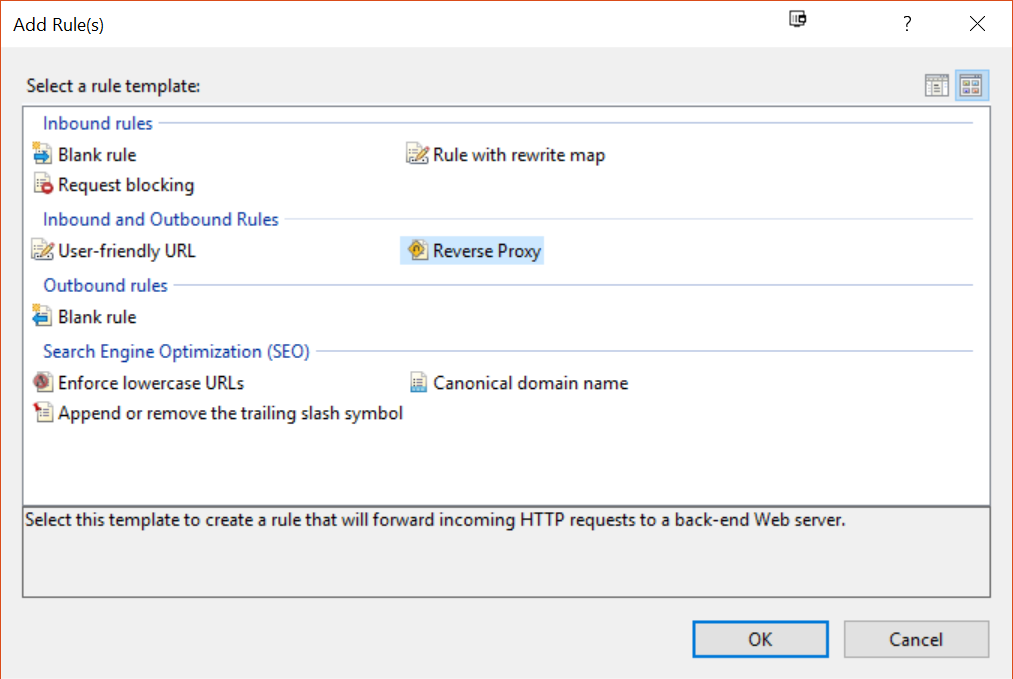
And pick "Reverse Proxy" from the list of templates:
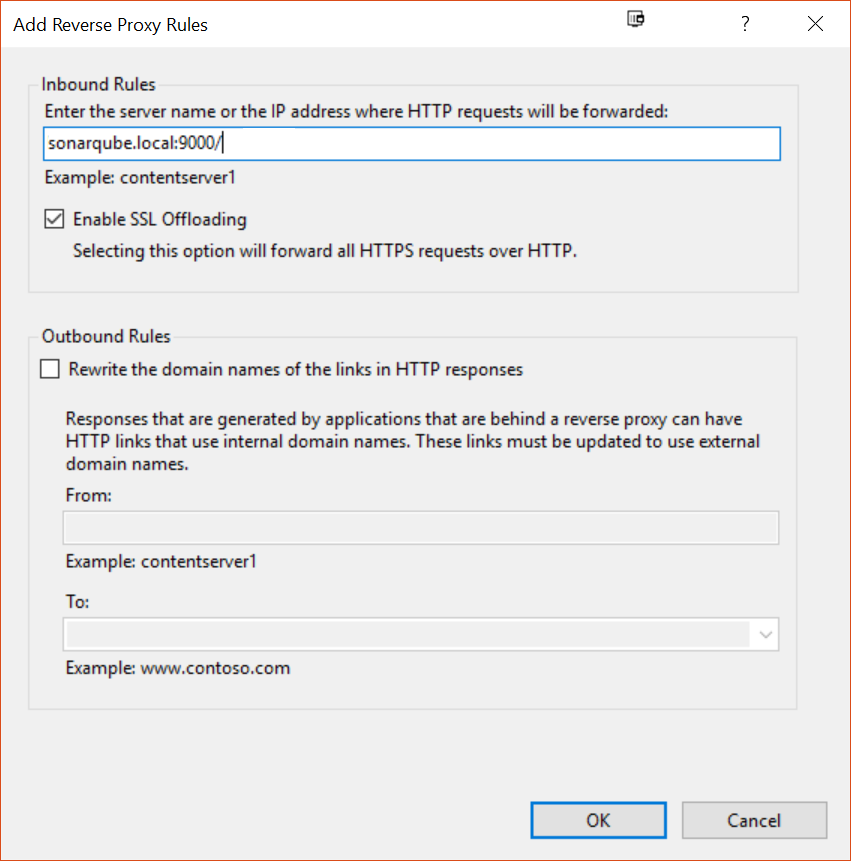
Enter the destination server URL (can be https://xebia.com/blog:9000, or even a remote server) and click OK to create the rule:
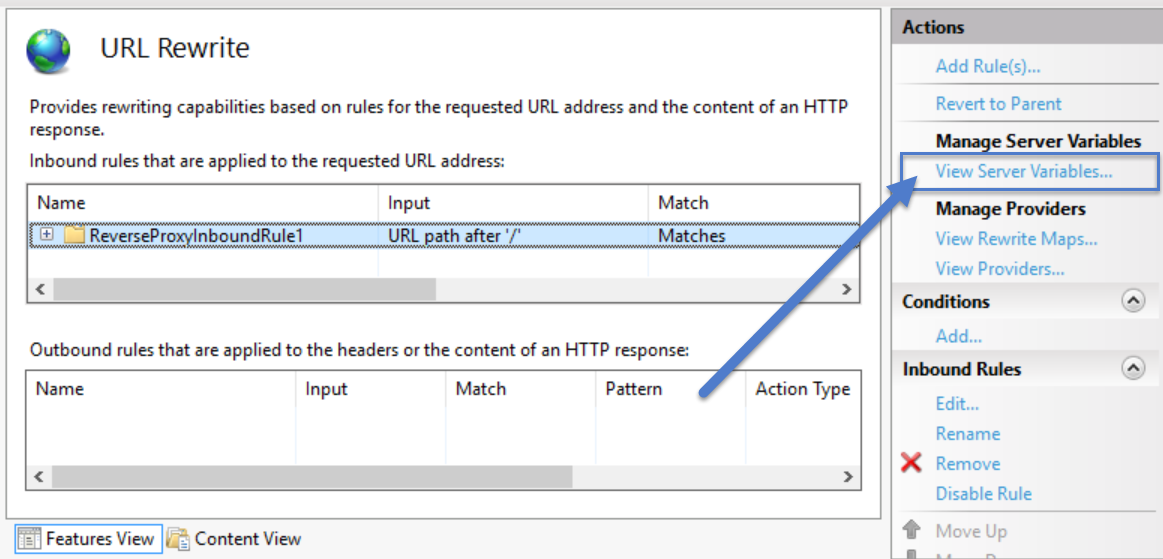
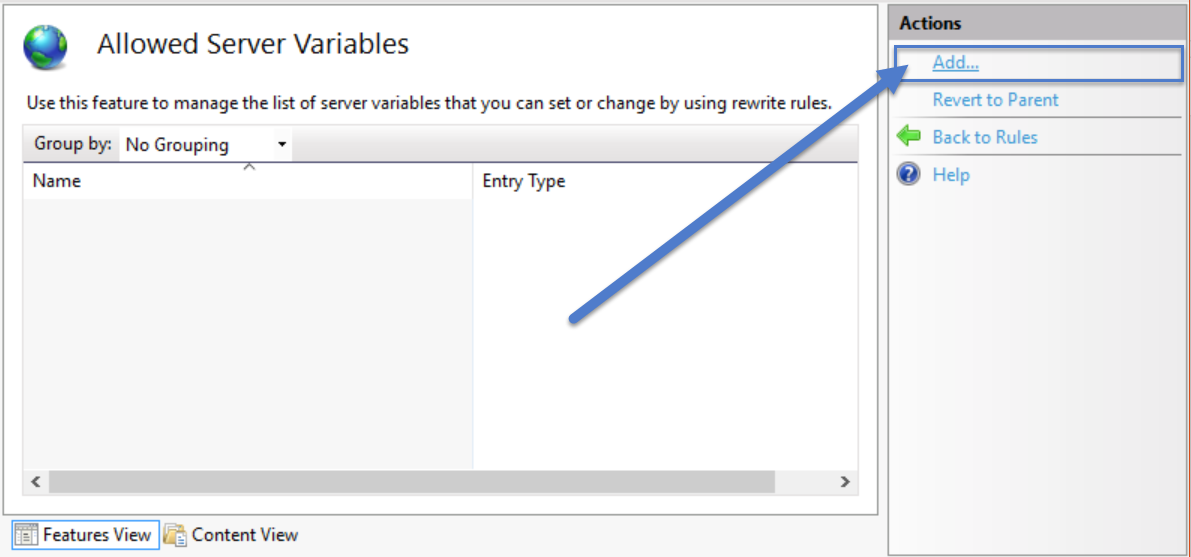
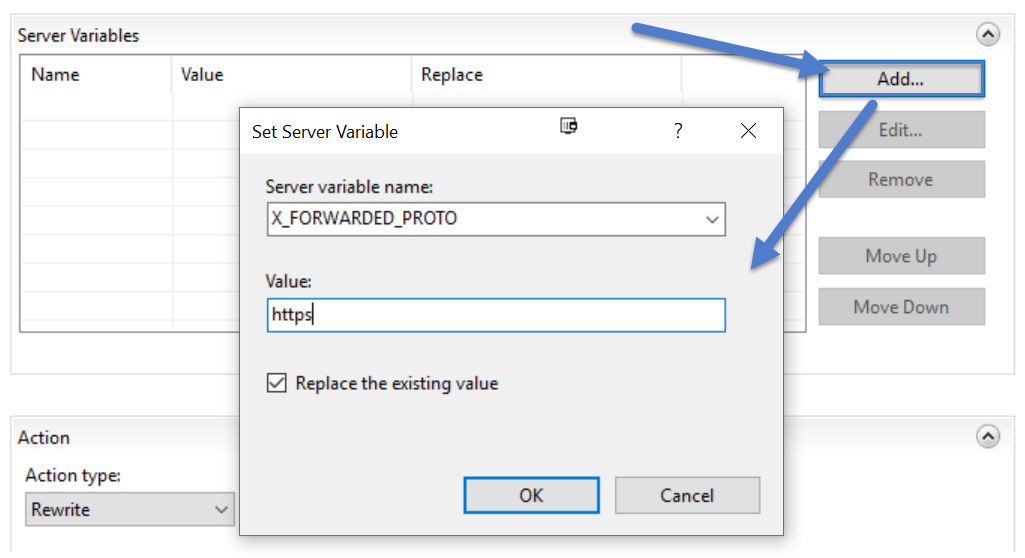
You're back in the URL Rewrite screen where we'll need to add an extra server variable which we'll send along with the request to the other server in order to tell SonarQube it's actually behind a Reverse Proxy that's doing the SSL offloading for it:
Click "Add..." to create the server variable:
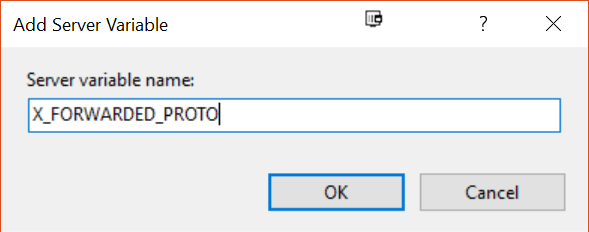
Add the server variable "X_FORWARDED_PROTO" to allow the Rewrite Module to manipulate this header:
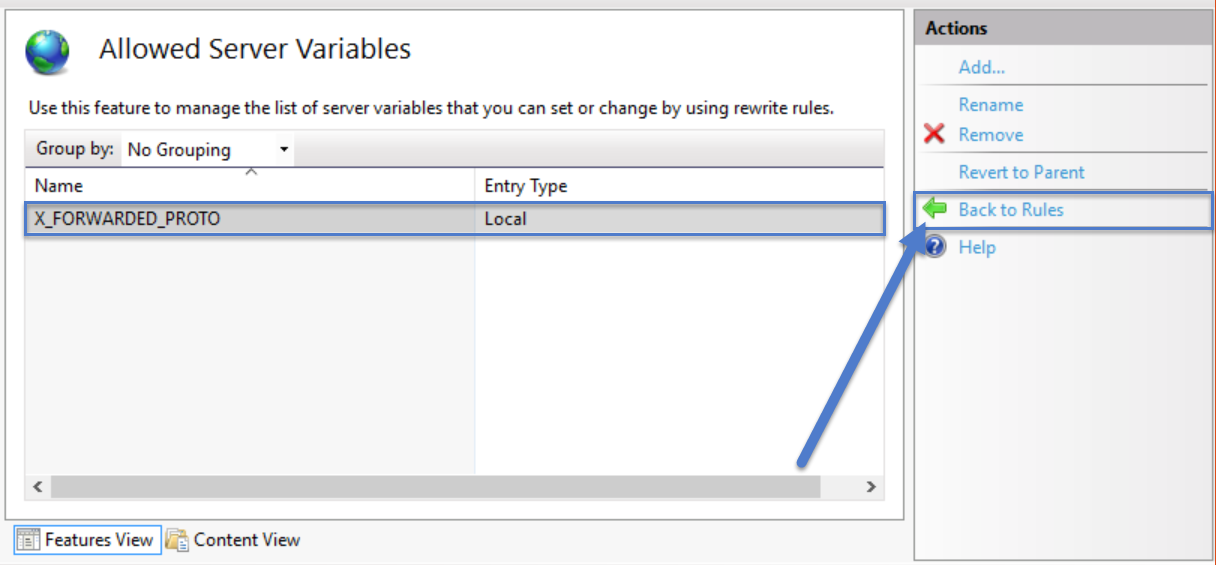
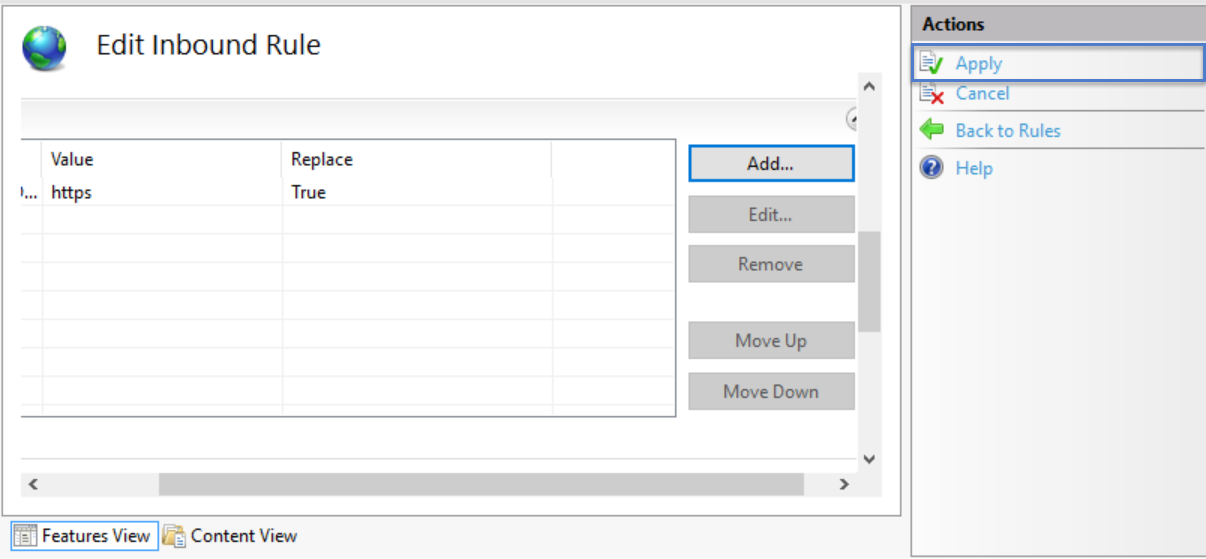
You should now have the variable listed in the Variable list. Click "Go back to Rules" to move back to the rules list:
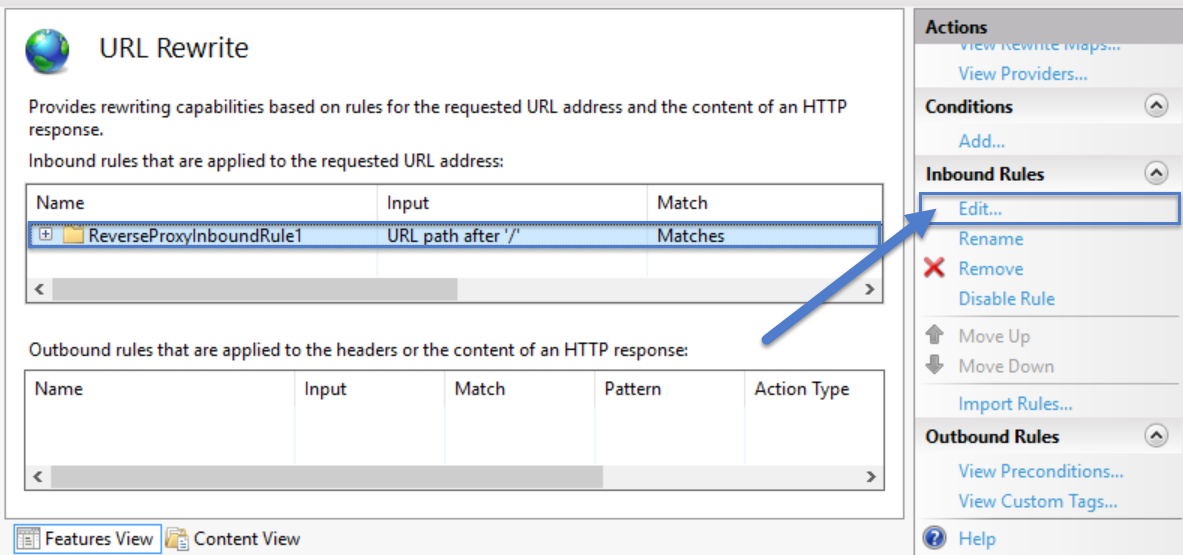
Edit the URL Rewrite rule you've just created:
Expand the Server variables section of the rule definition:
Add the "X_FORWARDED_PROTO" header you've allowed in the previous step and give it the value "https":
Apply the changes:
And now you should be able to access SonarQube over SSL. You may want to configure the original SonarQube instance to only accept traffic from your reverse proxy or only accept traffic from localhost through the Windows Firewall.
Written by
Jesse Houwing
Jesse is a passionate trainer and coach, helping teams improve their productivity and quality all while trying to keep work fun. He is a Professional Scrum Trainer (PST) through Scrum.org, Microsoft Certified Trainer and GitHub Accredited Trainer. Jesse regularly blogs and you'll find him on StackOverflow, he has received the Microsoft Community Contributor Award three years in a row and has been awarded the Microsoft Most Valuable Professional award since 2015. He loves espresso and dark chocolate, travels a lot and takes photos everywhere he goes.
Our Ideas
Explore More Blogs

Building a Microsoft Teams Bot with Private Networking in Azure
Learn how to build a Microsoft Teams bot on Azure using private networking, Azure Container Apps, Application Gateway, Azure Firewall, Key Vault,...
Victor de Baare


Contact
Let’s discuss how we can support your journey.