In our previous article we learnt what lowcode and mendix platform components are. In this article we are going know how to start with Mendix app development, install modeler and knowing its panels, menu items etc.,
App modeling is a process of creating and configuring an app, like creating pages, adding data, logic, configuring the security, and integrating with other applications.
Mendix Studio Pro allows you to create, edit and view your Mendix applications. Mendix Studio (web version) will also allow you to develop application to some extent but Studio pro offers more flexibility.
You can download Mendix studio
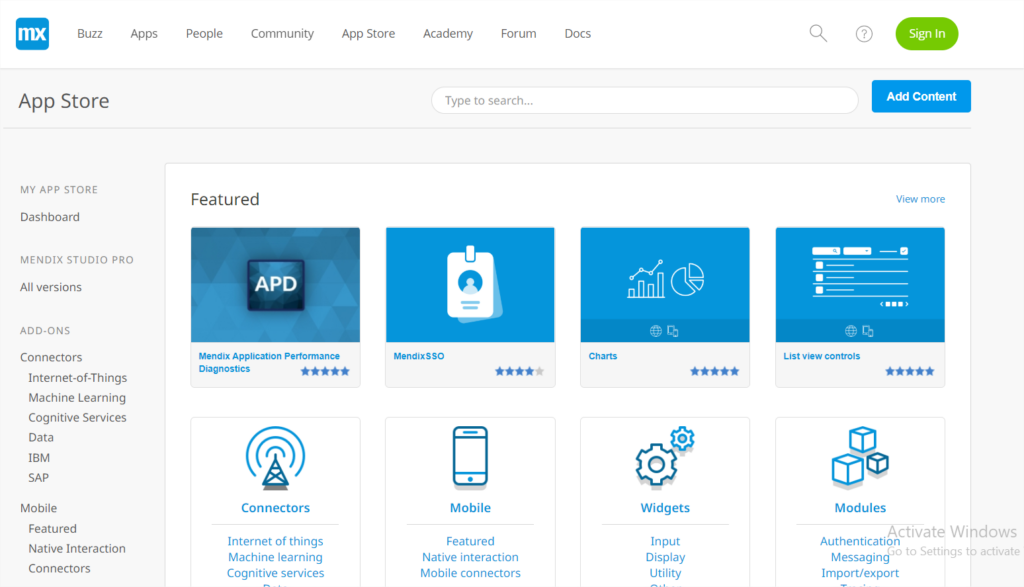
This app store is also the place for Add-ons and connectors.
Mendix modeler
Once we open the Mendix modeler, Project Explorer as shown below shows the information on structuring project, including important details on security and navigation.
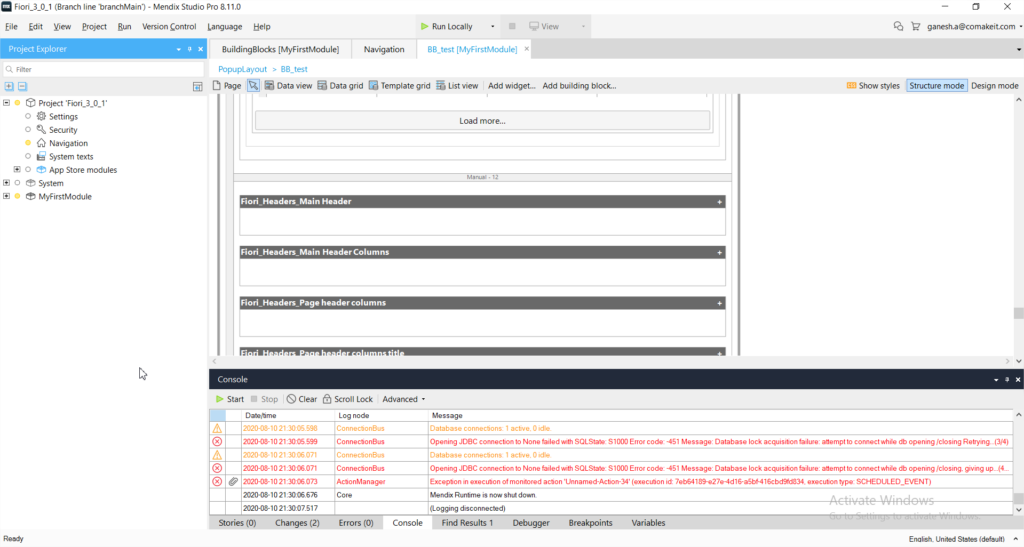
In order to design an application, we have to go thru the below phases:
- Domain Model– contains information on creating and maintaining the data model for your app.
- Pages– gives information on creating and configuring pages, as well as various elements on them. One can take advantage of readymade UI widgets, building blocks and layouts.
- Application Logic– gives details on how to use and configure microflows and nanoflows: elements that add logic to your app.
- Resources– introduces various individual resources (documents) that you can use in your application, such as Java actions, enumerations, scheduled events
- Integration– details methods for integrating with both Mendix and non-Mendix applications
- XPath– introduces you to the Mendix query language, including details on XPath constraints, functions, and tokens.
Our starting point is Project Explorer, so let’s dive into that
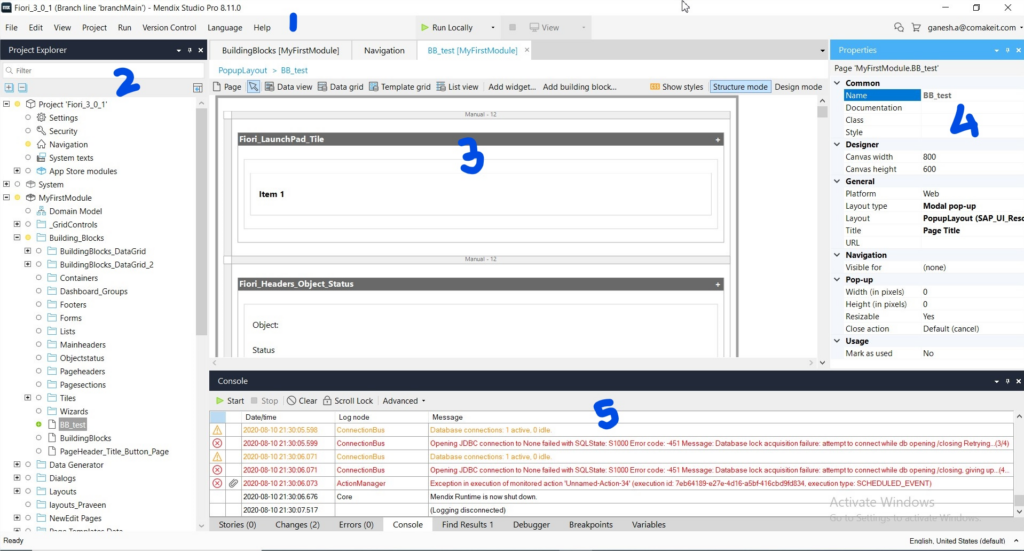
Top level menu items are helpful for creating, importing / exporting mpk (mendix pkg), helps us tuning the layouts and collapsible panes as marked.
Project menu helps in synchronizing with backend project directory structure, Create deployment packages and create package for eclipse (for java development).
Run menu helps in setting configuration, log levels, cloud config and debugging.
Version control menu helps in managing (upload/download) sources from the version control, manage and merging the branches. It also helps in showing your changes before committing / merging.
The Language menu allows you to manage additional languages and translations for your app. This includes features to assist you to translate a text altogether places where it appears with one change rather than having to vary each occurrence individually.
Help menu provides documentation and can explore the logs folder.
Run and View

These menus on top center help you run your changes locally / on cloud. With the help of view menu you can view the app in responsive / tablet / mobile resolution for testing.
Project Dashboard, App store and Profile
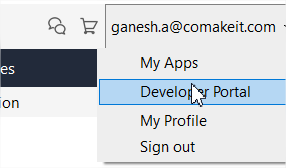
From this top right menu item, you can explore app store, developer portal and the apps created by you. The chat icon opens project dashboard on cloud.
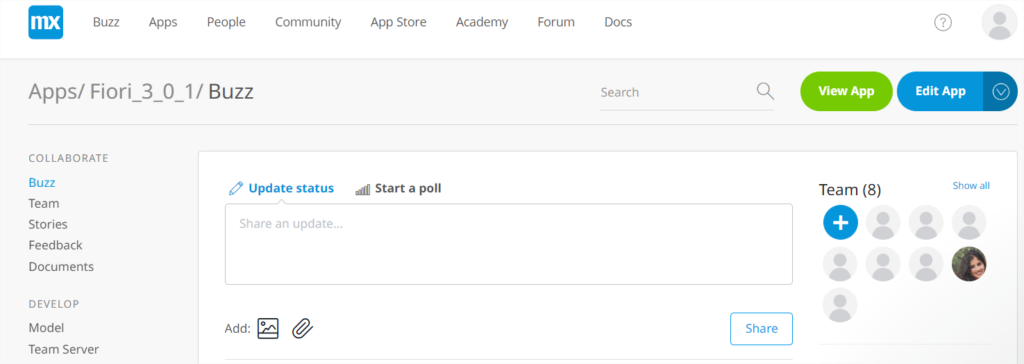
Project Dashboard
AppStore
Community
Certification / Academy
 Now that we know how to install mendix modeler, make use of project explorer and other panels, it’s time to get the hands dirty by creating an app going thru the important phases (Domain model, pages, app logic etc.,) Stay tuned !


